
What is a Gel Manicure?
Gel manicures differ from traditional polish in a few significant ways. The gel nail polish is applied similarly to regular nail polish, but each layer is 'cured' under a UV or LED lamp. This curing process hardens the polish to a glossy finish that is generally more durable and resistant to chips and scratches compared to traditional lacquer that dries out in the open air.
Benefits of Gel Manicure
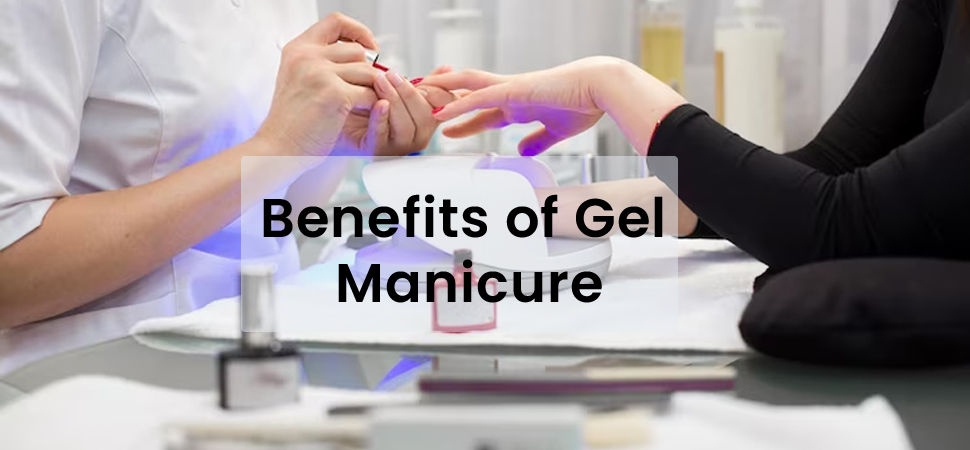
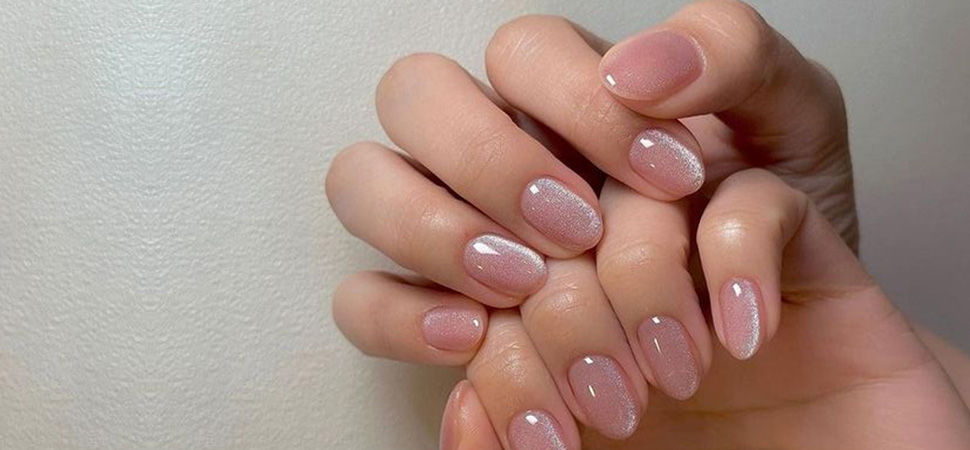
The benefits of a gel manicure are clear. It provides a longer-lasting finish than regular nail polish, delivering a natural gloss once dry. Additionally, the gel can extend wear several days for individuals prone to chipping with traditional polish.
However, the downside is often in the removal, which requires more patience and care. This is why we bring you a step-by-step guide on how you can remove gel nail polish at home.
How to Remove Gel Nail Polish
Revealing your nails after a gel manicure is like unwrapping a present with closed eyes. You're unsure what to expect, but you anticipate the beauty you'll find. However, the one aspect you can predict is that gel polish removal needs to be gentle and methodical.
Taking care of your nails post-gel manicure is crucial. To maintain the health and strength of your nails and cuticles, moisturize them regularly. Additionally, consider using a nail-strengthening treatment to strengthen their resilience. These simple steps will ensure a safe removal process and promote overall nail health and beauty.
-
Step 1: Protect Your Surfaces
Before beginning, make sure to prepare your working area. Gel nail polish remover contains acetone, which can damage wood finishes, mainly if left to sit for an extended period. Your best option is to work on a protected surface or cover the area with a cloth, a plastic sheet, or a garbage bag. Taking this simple measure can spare you from the annoyance of unintended harm.
-
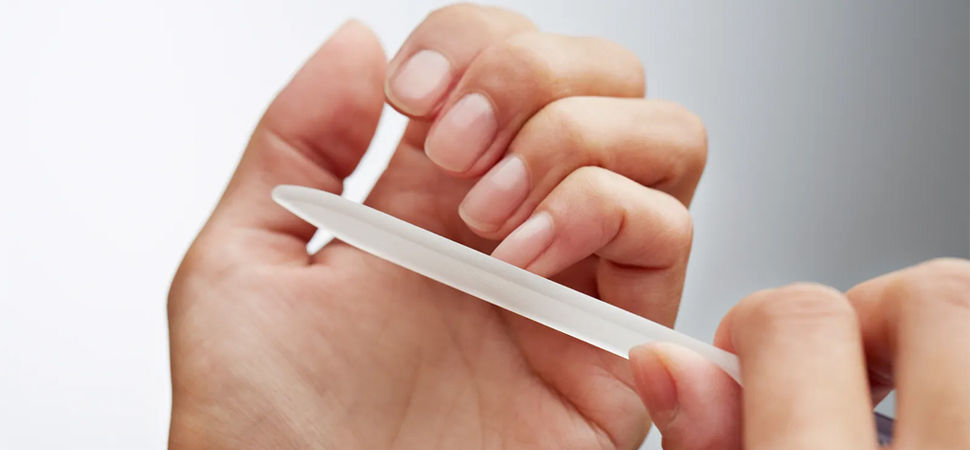
Step 2: Buff
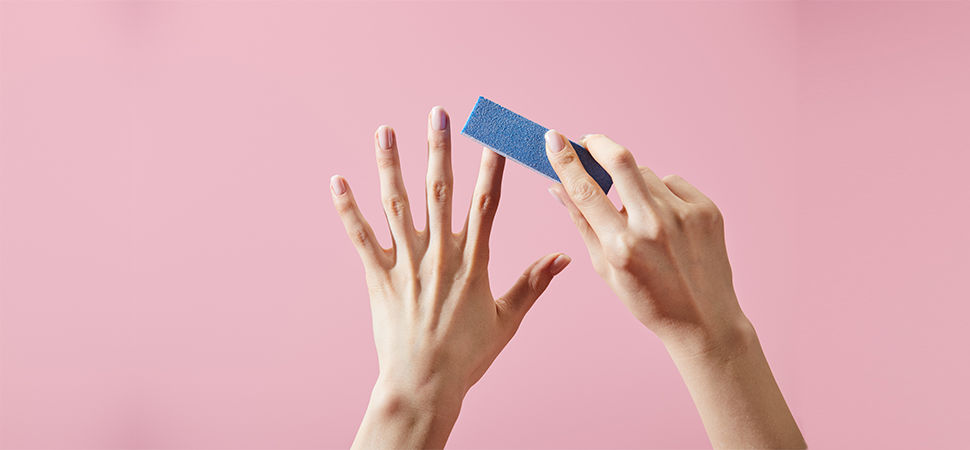
Using a gentle nail buffer, remove the shine from the top coat of your gels. You're not looking to thin the gel or remove color at this point; you're just creating a better vehicle for the removal process. By reducing the shine, you allow the acetone to penetrate the gel more effectively.
-
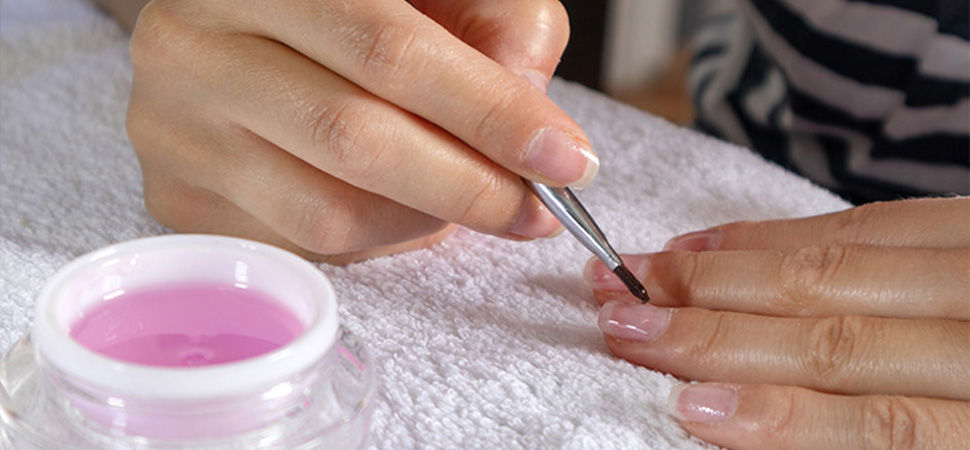
Step 3: Protect Your Skin and Cuticles
While acetone is a relatively safe chemical, it can dry your skin and weaken your nails. To avoid direct contact, apply a cuticle oil or Vaseline around the edges of your nails and the skin. This will create a barrier protecting these delicate areas and making cleanup much more manageable.
-
Step 4: Soak Them Off
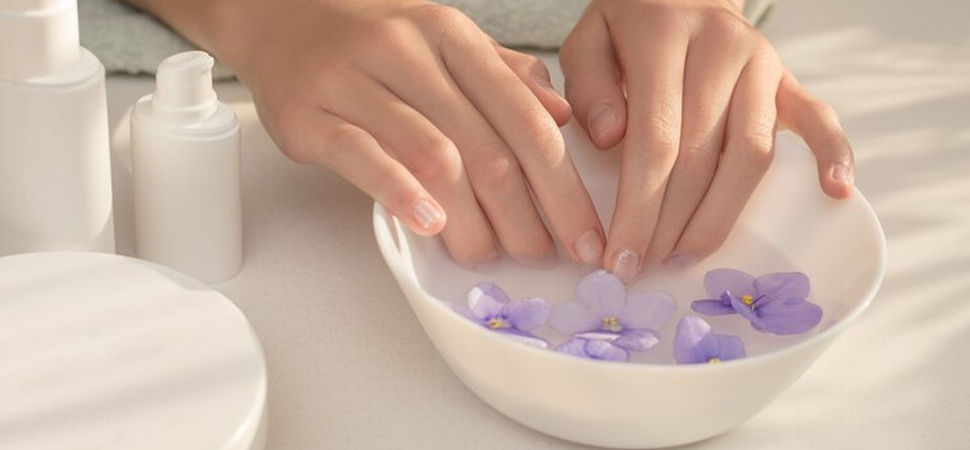
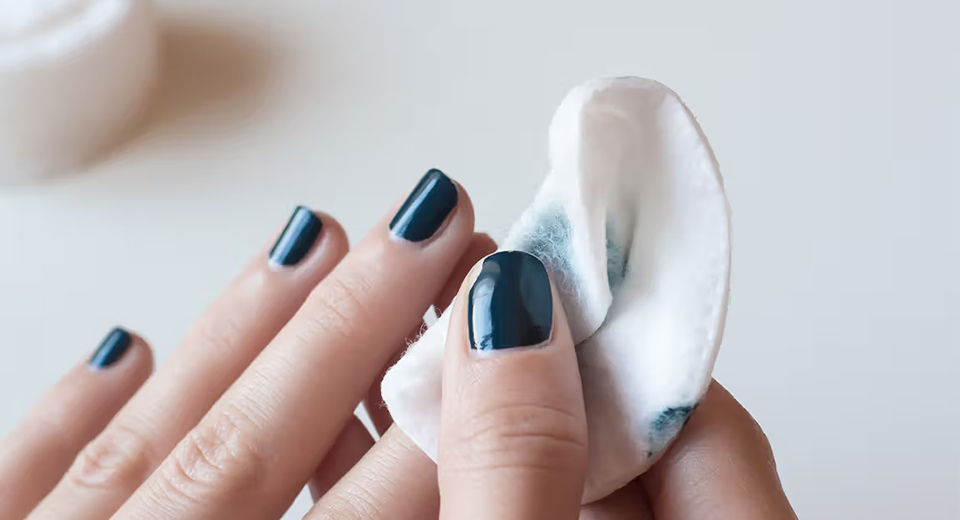
The optimal method for eliminating gel nail polish involves soaking your nails in acetone. Soak cotton balls in acetone, apply it to your nail, wrap your fingertip in aluminum foil, and repeat for all ten fingers. This creates a mini-environment that will help the acetone stay in contact with your nails without evaporating too quickly.
-
Step 5: Watch the Gel Flake Off
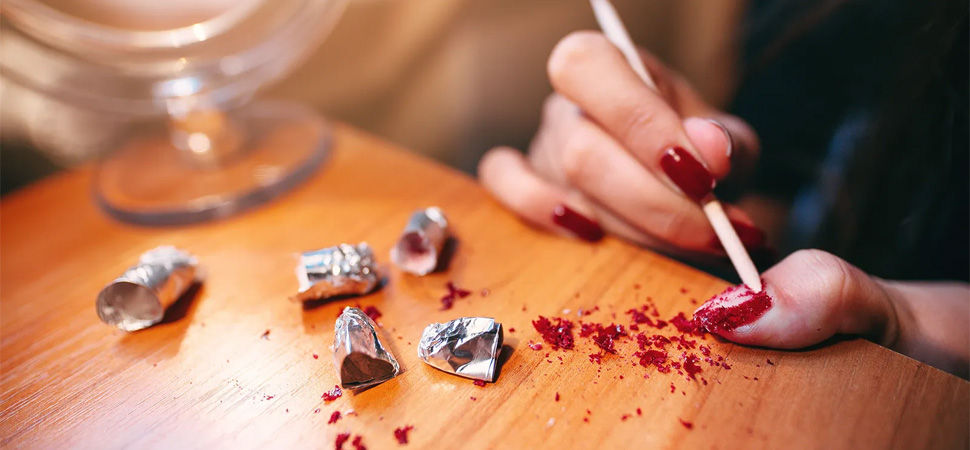
After 10-15 minutes, you can check one nail to see if the gel has started peeling. Push the softened gel off the nail with an orangewood stick or cuticle pusher. If it doesn’t budge, replace the cotton pad and foil and keep soaking your nails, checking at 5-minute intervals.
-
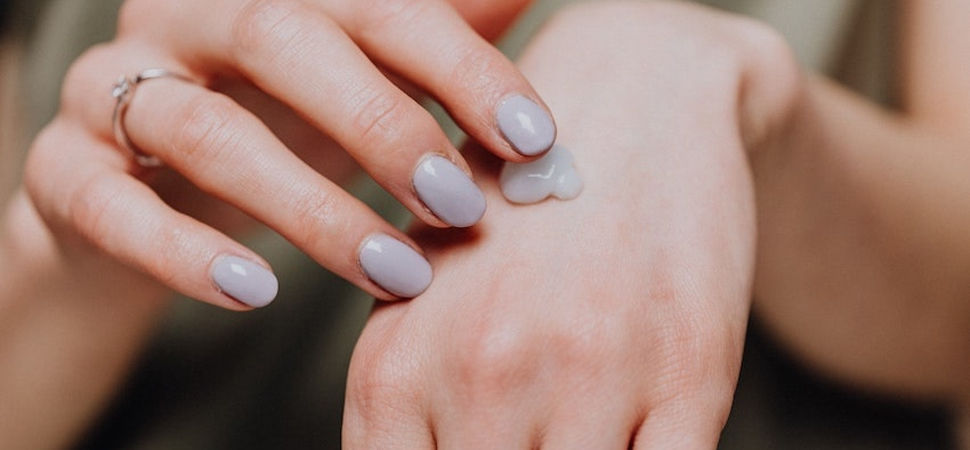
Step 6: Rehydrate
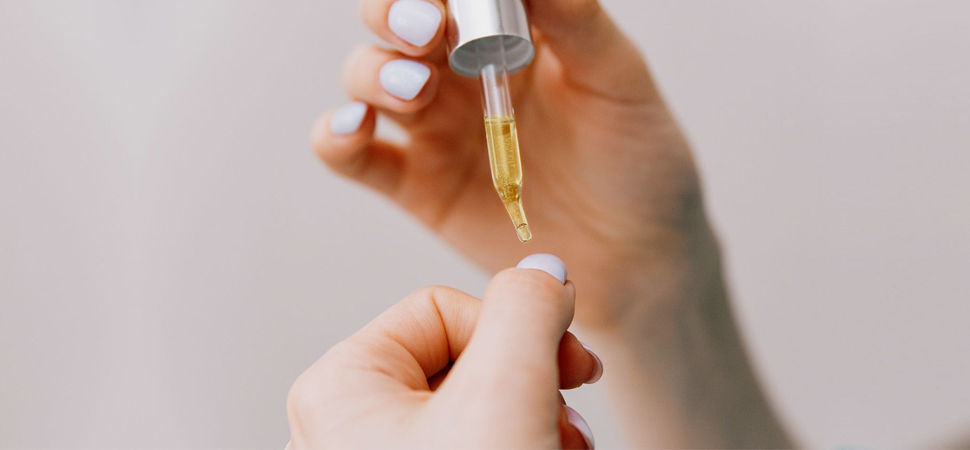
Gel manicures and the removal process can damage your nails and skin. Once all the gel is removed, wash your hands with soap and water to remove any traces of acetone, and then apply a high-quality cuticle oil. This will nourish your nails and the surrounding skin and help restore any damage.
Following this comprehensive guide, you should be able to remove your gel manicure safely and effectively at home. Taking the time to do so will maintain the health of your nails and prepare them for a fresh, polished look. Remember, patience is vital in this process.
As you practice removing your gel polish on your own, you'll gradually improve your technique, reducing the time it takes each session. Embrace this self-care routine as a pampering session for your nails, setting the stage for your next fabulous nail design. Enjoy the journey of caring for your nails, as each step contributes to their overall beauty and care.


.jpg?updatedAt=1735200955338)